

For those of you who have been asking for my homemade caramel recipe, today is your lucky day!
Next to my homemade toffee recipe, this homemade caramel recipe is one of my all-time favorite holiday treats. It always gets great reviews from teachers and friends when we give it away as hostess gifts, and I’m definitely in trouble if I don’t show up for family gatherings with a tin full of this luscious confection!
In fact, it was at a family gathering that I gleaned the recipe in the first place. My cousin showed up at a Christmas gathering with these homemade caramels in tow. One bite, and I knew I needed the recipe for myself. I was especially encouraged when she said, “It’s soooo easy!”
Well, let me add a caveat to that statement. It is fairly easy to make them, but don’t confuse easy with convenient or quick. Instead, they are rather time intensive, require constant watching during the cooking stage, and take a long time to roll and wrap. (I’ve found it’s much easier now that my kids have taken an interest in helping prepare them, but it’s still a lot of work.)
That said, I hold to my original assessment. One bite, and you’re hooked. They are definitely worth all the time it takes!
Ingredients:
2 sticks of butter
2 cups of sugar
1 cup of Kayro syrup
1 can sweetened condensed milk
Instructions:
1. Combine the butter, sugar, and Kayro syrup in a 2-quart saucepan.
2. Bring to a boil on medium heat. (Do not rush this stage, or you’ll end up with brown, burned flecks in your caramels!)
3. Add the sweetened condensed milk. Stir constantly. (Let me say that again. Stir constantly. Do not walk away, answer the phone, or check your kids’ homework, or you’ll end up with dark brown flecks in your caramels.)
4. Cook to a softball stage, or 244 degrees on a candy thermometer. No candy thermometer? No problem. Just have a small bowl of cold water handy before you start, so you don’t have to stop stirring to get one and end up with dark flecks in your caramels. (Yes, I’ve done this, and yes, I’ve ended up with dark flecks in my caramels!) When the mixture turns a light, caramel-colored brown, drop a small spoonful into the water. If you can form it into a soft ball that is slightly squishy in your fingers, the caramels are done.
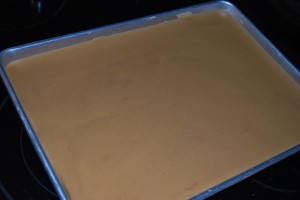
5. Pour caramel mixture into a buttered cookie sheet and let cool. (Make sure that the pan is buttered, or you will NEVER be able to remove the caramels. This stuff is sticky, folks!)
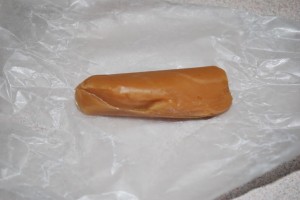
6. Once the caramels are cool to the touch, cut into sections and roll into little logs.
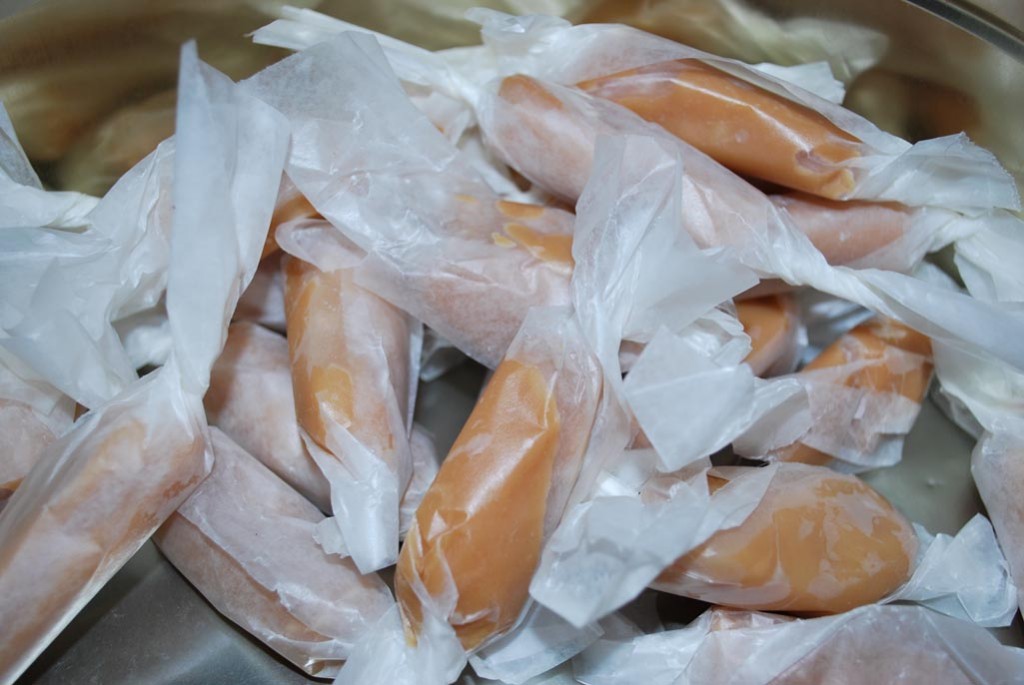
7. Wrap the caramels in pre-cut rectangles of waxed paper.
And that’s it. Easy, really. Just don’t stop stirring! 🙂