
This year, in addition to several jars of freezer jam, I’ve also learned how to make classic strawberry jam …as in the kind you boil on the stove and preserve in your water-bath canner. Here’s why.
As much as I love freezer jam, it has a few drawbacks. First, you can quickly run out of storage space in your freezer if you have an abundant berry harvest…which we do for the first time this year! (Yes, my little strawberry patch in my garden has taken off, and I have been processing 6 – 8 cups of berries every other day!) Second, if the power goes out for a long time, so does the jam. I would really hate to lose all that time weeding, picking, and processing the strawberries to a nasty winter storm!
That’s why I’ve learned how to make classic strawberry jam. While it’s definitely more complicated than freezer jam, it really isn’t hard, as long as you follow a few simple steps.
Step 1: Gather all the necessary supplies ahead of time. This includes:
- Your water-bath canner
- Canning jars, unused lids, and bands
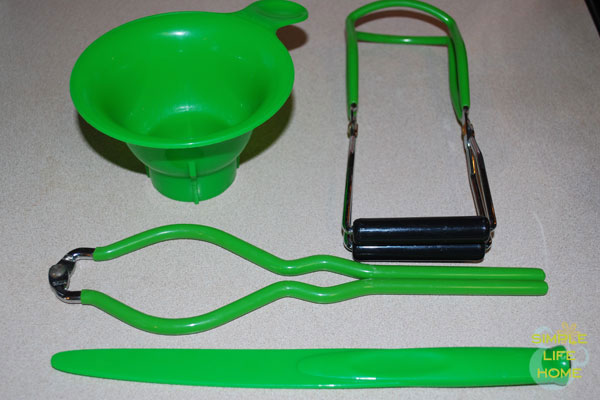
- Canning accessories (funnel, magnetic lid lifter, and jar lifter)
- Lots of sugar!
- Classic pectin
- An 8-quart stock pot (for boiling the jam)
- A smaller saucepan (for boiling the lids and bands)
- An electric kettle (for filling your empty jars with boiling water, which prepares them for the jam and canning)
- Strawberries, of course!
Begin by filling the canner halfway with water, being sure to follow all necessary steps in your canner’s instruction booklet, and begin to boil. Start the water boiling in the smaller saucepan to sanitize the lids and bands. Finally, lay out the jars and all accessories on a clean towel, and set the kettle to boil.
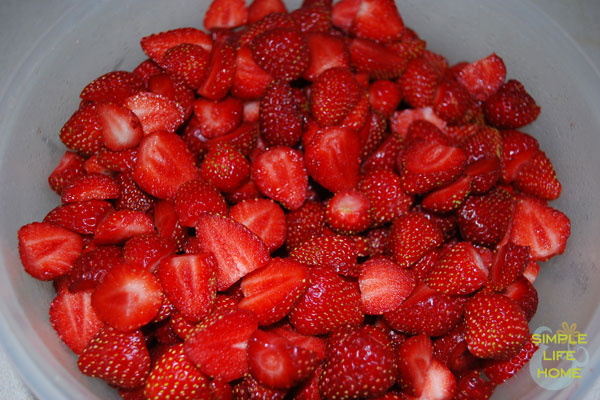
Step 2: Prepare the berries. For best results, I like to process the strawberries the same day I pick them. Be sure to pick only the ripest berries, rinse them well, and remove the tops and any bad spots.
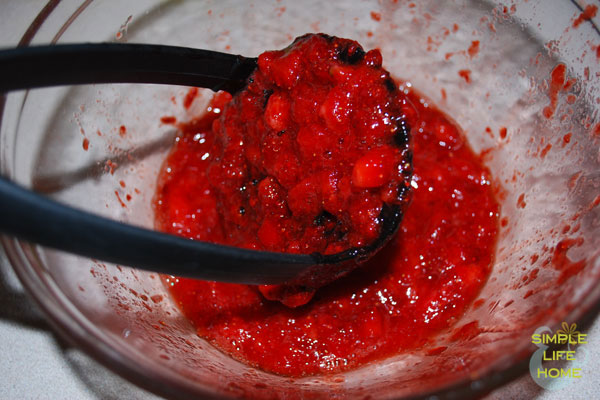
Then mash the berries, one layer at a time, with a potato masher in a large bowl. I pour the mashed berries into this large batter bowl so I can measure the berries and easily gauge how many I’ll need for each batch of strawberry jam, following the recipe on the inside label of the Ball RealFruit Classic Pectin jar.
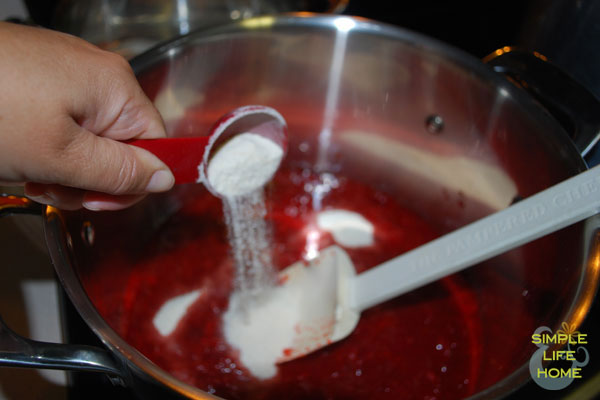
Step 3: Pour berries into the waiting stock pot, mix in measured pectin, and bring to a full rolling boil, stirring constantly.
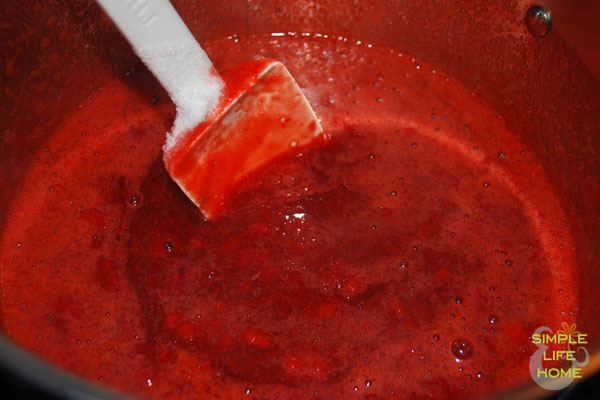
Step 4: Add sugar and return to a full boil. Boil for one minute. (Note: my recipe gives me a choice on the amount of sugar to add. I chose the reduced sugar recipe, and it came out plenty sweet!) While the jam is boiling, pour the boiling water from your electric kettle into your jam jars in preparation for the next step.
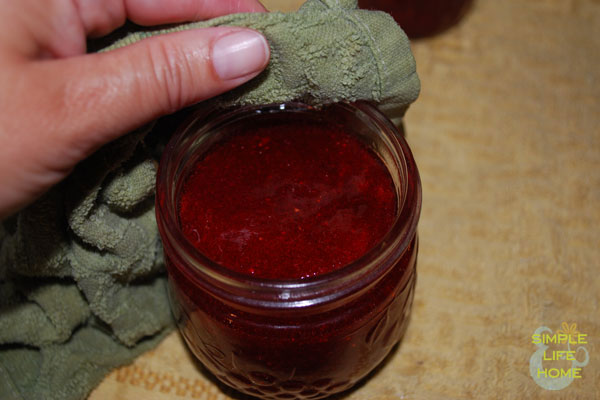
Step 5: Ladle hot jam into hot jars, leaving ¼ inch head space. Wipe tops of jars carefully with a clean cloth to remove any spills. Remove the lids and bands, one at a time, from the boiling water and place them on the jars.
Step 6: Using your jar lifter, carefully place each jar in the boiling water in your canner. Attach the canner lid and process jars for 10 minutes in the boiling water.
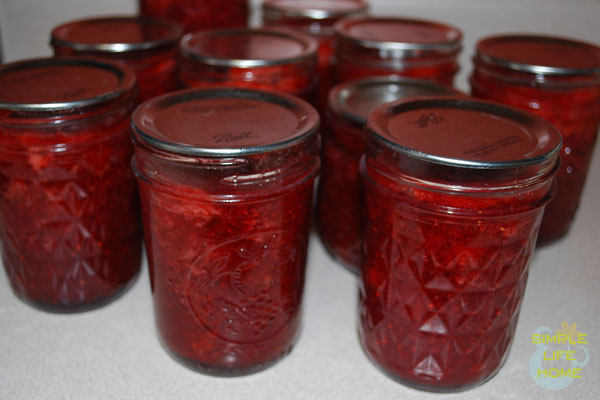
Step 7: Remove the lid and let the jars sit in the water for an additional 5 minutes, then remove them from the canner and place on a clean, dry towel. You should begin to hear the lids popping relatively quickly, letting you know that the jars have sealed.
Step 8: After the jars have cooled, remove the bands, attach any labels, and place them in a cool, dry storage area until you’re ready to serve. Be sure to refrigerate any unused jam after you’ve opened the jar, and enjoy!
Note: This post may contain affiliate links. For more information, please feel free to check out my disclosure policy. And thanks for stopping by!